Selling a sports card collection starts long before you choose an asking price. The real work is preparing each card so a buyer can understand exactly what it is, what condition it is in, and whether your photos match the description.
That preparation usually comes down to three jobs: sort cards into sensible listing groups, describe condition in clear defect-based language, and photograph the exact item accurately. Those steps sound basic, but they shape how fast you can list, how consistent your listings look, and how many avoidable problems show up after the sale.
If you want a practical standard, aim for this: make it easy for a buyer to identify the card, evaluate its condition, and confirm that the photos reflect the same reality your description does.
Start with sorting, because listing chaos usually begins in mixed piles
Most sellers are tempted to write a listing the moment they find a card they think will draw attention. That works for one card. It breaks down fast when you are preparing dozens, hundreds, or boxes of material. A better approach is to sort first and list second.
The reason is simple: modern listing tools are built around repeated fields such as title structure, item specifics, photos, and descriptions. When cards are grouped by shared details, you can create listings in batches instead of reinventing the process every time. That does not mean there is one official sorting taxonomy that every collector must use. It means the structure of current selling tools rewards consistency.
A practical batch system is to separate graded cards from raw cards first. After that, split singles from lots. Then sort by the details most likely to repeat across listings: year, manufacturer or set, player, card number, parallel or foil version, team or sport, and a rough condition bucket. Doing this upfront reduces title mistakes, helps you reuse description phrasing responsibly, and keeps photo sessions more efficient because similar cards can be shot together under the same setup.
For example, if you are selling thirty raw chrome-era baseball cards from the same release, sorting them together lets you apply the same title pattern, the same item specifics, and the same front-back photo sequence. If you mix those with vintage paper stock cards, slabs, and team lots, your workflow slows down and your error rate rises. Sorting is not glamorous, but it is usually the difference between a controlled sale process and a weekend of correcting preventable listing errors.
- Suggested first-pass groups: graded cards, raw singles, player lots, team lots, set-builder lots
- Suggested second-pass fields: year, set, player, card number, parallel or foil, team or sport, condition tier
- Use condition tiers only as internal workflow labels, not as substitutes for actual flaw disclosure
Build listing-ready groups that share the same facts, not just the same player
Many collections are organized around personal collecting habits rather than selling efficiency. That is normal. A player box, a favorite team binder, or a stack of recent pulls may make perfect sense when you collect. It may be the wrong structure when you sell.
Listing-ready groups should be built around facts that belong in titles and item specifics. Two cards of the same player can require very different listings if one is a base rookie, one is a numbered parallel, and one is a college-uniform prospect issue. Even before you touch condition, those cards need different identification language. Treating them as one batch simply because the player is the same can lead to wrong specifics, incomplete titles, or accidental omissions.
A useful test is to ask: can these cards share most of the same listing fields without becoming misleading? If yes, they probably belong in the same batch. If no, split them apart. Graded cards, for example, often deserve their own workflow because the slab label is part of the item identification and the photos should clearly show it. Lots deserve a separate workflow because the listing has to make it obvious whether the buyer is getting one card or multiple cards.
This is also where you decide what not to force into singles. A low-end stack of commons with similar wear may be better prepared as a clearly photographed lot instead of twenty separate listings. That is an analysis choice, not a platform rule, and it involves tradeoffs. Singles can maximize visibility for individual cards, but lots can save time and reduce the friction of describing every minor flaw one by one. The best choice depends on how repeatable your listing data is and how clearly you can present the item format.
- Ask of each batch: do these cards share the same identity fields, condition workflow, and photo sequence?
- Split out cards whose parallels, foil versions, or item type would change the title materially
- Do not mix singles and lots in one prep pile if you want faster photography and fewer title mistakes
Inspect condition the way serious buyers do: surface, corners, edges, centering, and visible damage
Before you write a single condition sentence, inspect the card using the same categories buyers and grading-minded collectors already recognize. PSA’s educational guidance centers attention on surface, edges, corners, centering, creases, stains, and other visible damage. That does not force you to grade the card yourself. It gives you a consistent vocabulary for describing what you actually see.
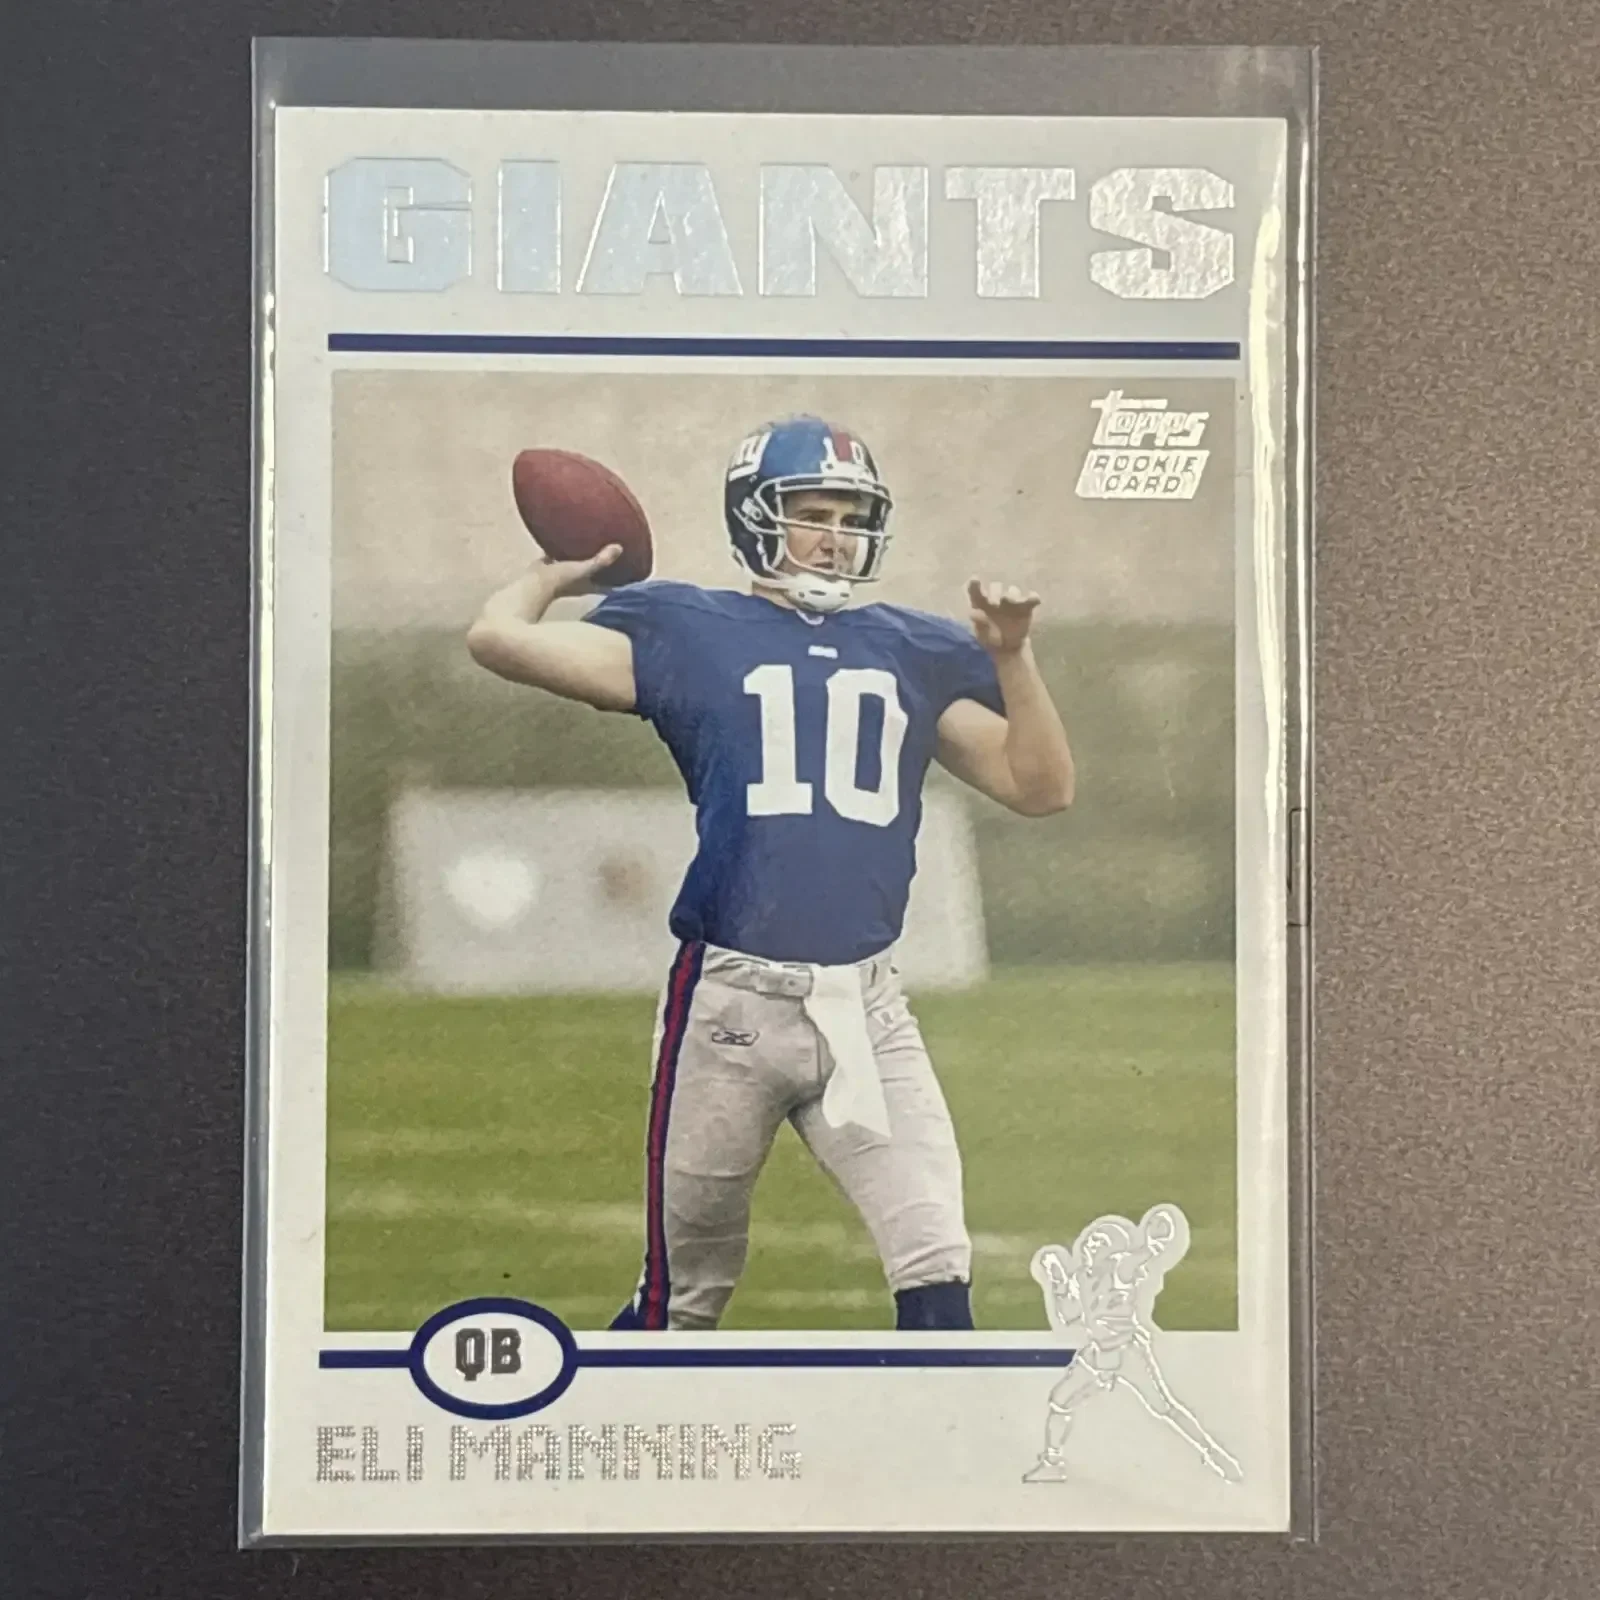
For raw cards, a repeatable inspection sequence helps. Start with the front straight-on for centering and major print or surface issues. Check corners next. Then inspect edges on all sides. Turn the card over and repeat. If needed, use angled light to reveal scratches, gloss breaks, indentations, or other surface problems that do not show well head-on. The goal is not to hunt for imaginary flaws. The goal is to avoid missing real ones.
This matters because a vague statement like 'nice card' tells a buyer almost nothing. A more useful note might say the card has soft top corners, light edge wear on the back, and a surface scratch visible under angled light. That kind of wording gives a buyer something concrete to evaluate. It also helps you keep your own listings internally consistent across a larger group of cards.
There is an important tradeoff here. The more carefully you inspect, the more time the process takes. But skipping inspection usually does not save time in the long run if it leads to preventable questions, returns, or disappointed buyers. If you are selling a large group, you can speed the process by inspecting in the same sequence every time rather than deciding from scratch what to look for on each card.
- Use the same order every time: front, corners, edges, back, surface under light if needed
- Describe observed flaws; do not imply a third-party grade on an ungraded card
- If a defect is meaningful enough to mention, it is meaningful enough to photograph
Write descriptions that identify the card first, then disclose what is wrong with it
The cleanest listing descriptions usually follow a simple order: first say what the card is, then say what condition issues are present. That sounds obvious, but many weak listings reverse it, lean on hype, or leave out one of those jobs entirely.
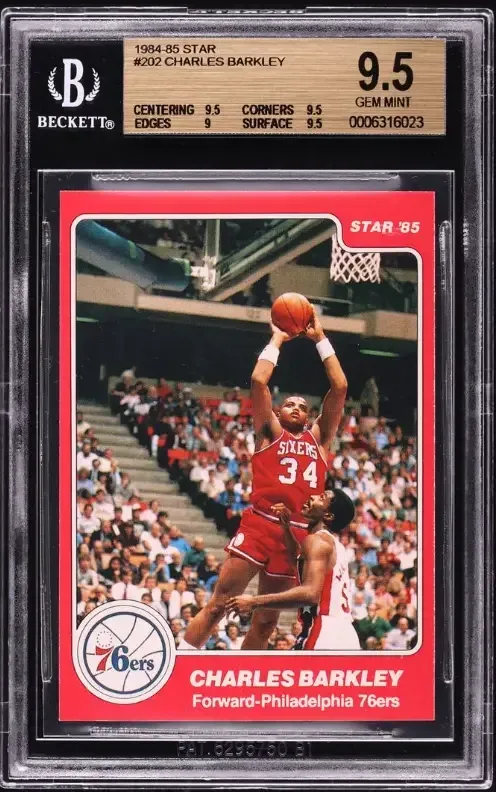
Start with identity. Include the year, set or brand, player, card number, and any parallel, foil, or variation detail that changes exactly what the card is. If the card is graded, the grading company and grade belong in the identification. If it is raw, do not write around that fact as if the buyer should assume grading potential from silence.
Then move to condition in direct language. eBay’s selling practices guidance says sellers should specify condition and describe defects or flaws. That points you toward plain, observable wording: off-center left to right, soft lower-right corner, edge chipping on the back, small crease near the top border, surface scratch visible under angled light. The point is not elegant prose. The point is clarity.
What should you avoid? Broad claims that sound stronger than your evidence. Calling a raw card 'mint,' 'perfect,' or 'investment-grade' can create expectations that your photos and condition notes may not support. Even 'pack fresh' is not a substitute for describing actual condition. A pack-fresh card can still show print lines, imperfect centering, edge wear, or surface issues. Better to state the observed facts than rely on mood words.
One practical rule helps: every condition claim should be something a buyer could reasonably verify from your photos or from the defect language in the listing. If you cannot support the phrase, leave it out.
- Description formula: identity first, condition second
- Useful defect terms: corners, edges, centering, crease, stain, chipping, discoloration, surface scratch
- Avoid using enthusiasm as evidence; buyers need details more than adjectives
Use item specifics to reduce confusion, not just to satisfy a form
Item specifics can feel like administrative busywork, especially when you are trying to move through a large stack. In practice, they are one of the easiest ways to make your listings more consistent and easier for buyers to filter. eBay explicitly describes item specifics as descriptive keywords buyers use in search and filters, and it provides tools for finding and fixing missing specifics.
For sports cards, that means you should treat specifics as part of identification accuracy, not an afterthought. If a card has a foil or parallel version that changes what it is, confirm that field carefully. If the listing is a lot rather than a single card, make that obvious in the specifics and photos. If a tool pre-fills something you did not verify yourself, correct it before you publish.
A common failure point is assuming the title will carry all the meaning while specifics can stay half-complete. That invites mistakes when buyers filter by card number, set, player, or variation. It also makes your own inventory harder to review later. Specifics are most helpful when they repeat the core identity cleanly and consistently, not when they add speculation or filler.
An easy workflow is to complete specifics as part of the sorting batch. If you have already grouped cards by shared year, set, player type, and parallel family, the specifics process becomes faster and more accurate. You are no longer improvising; you are confirming details inside a system you already created.
- Fill specifics from the card itself, not from memory
- Check parallel and foil details carefully before publishing
- For lots, make sure the item specifics and photos both communicate quantity clearly
Photograph the exact card, not an idealized version of it
Photos are not decoration for a card listing. They are part of the condition report. eBay’s picture policy requires at least one image, says photos must accurately represent the item, and does not allow stock photos for used, damaged, or defective items. It also restricts overlays like borders, text, artwork, and watermarks that can distract from the item or alter how it is presented.
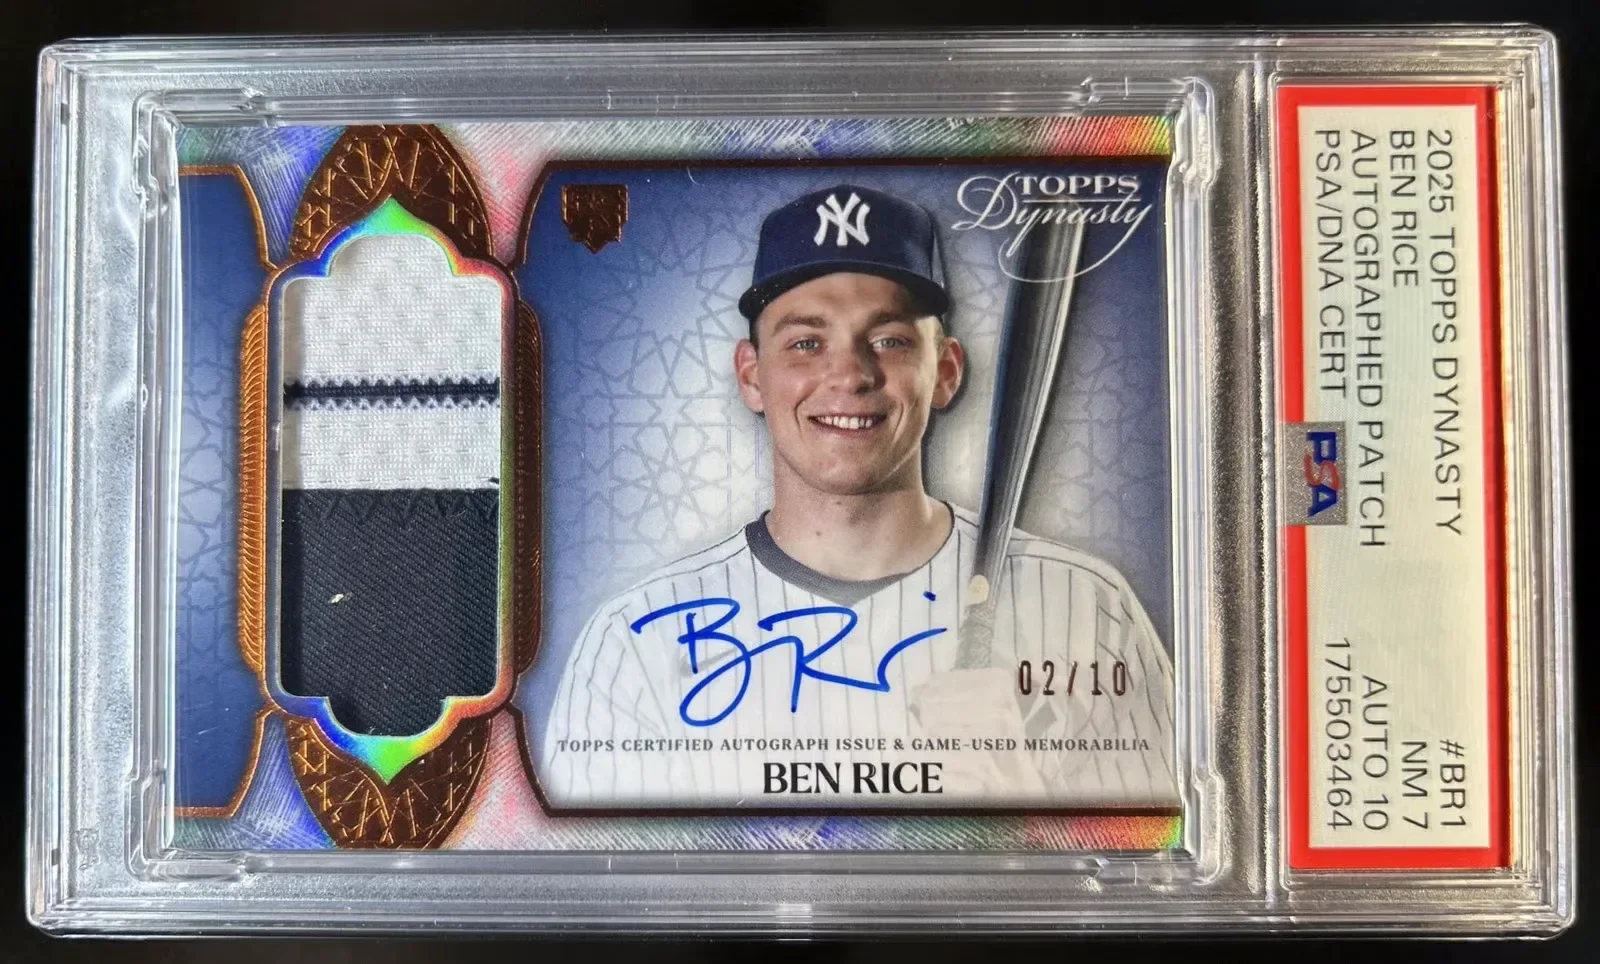
For most raw singles, the minimum useful photo set is a straight-on front and straight-on back. If there are meaningful flaws, add closeups. If a surface issue only shows under certain lighting, an angled-light photo can help clarify what the buyer is getting. For graded cards, include clear slab images and make the label legible enough to confirm the holder details. For lots, use images that make the included quantity clear rather than relying on vague pile shots.
The technical standard does not have to be fancy. eBay says photos should be at least 500 pixels on the longest side and recommends several high-quality pictures. A neutral, uncluttered background works better than a busy desktop because it keeps attention on the card and helps surface wear stand out. Reducing glare matters, especially on glossy, chromium, or refractor-style surfaces where reflections can hide scratches or create confusion about what is card damage versus light.
A practical photo routine is to keep the camera angle repeatable and the lighting consistent. That way, differences between cards are easier for buyers to judge, and you spend less time reshooting. Clean and consistent usually beats dramatic and artistic when the goal is trust.
- Baseline sequence for singles: front, back, flaw closeups, angled-light surface shot if needed
- Use the actual item’s photos, especially for any used or flawed card
- Avoid text overlays, decorative borders, watermarks, and cluttered backgrounds
A simple photo station can outperform a complicated one if it stays consistent
Many sellers lose time chasing a perfect setup they never quite finish building. A more useful goal is a repeatable setup that produces accurate results. You want enough light to show the card clearly, little enough glare that the surface is readable, and a background that does not fight the image.
In practice, a neutral backdrop and a steady camera position go a long way. The main image should show the whole card face-on. Additional images should show other aspects and any flaws. That framework comes directly from eBay’s own guidance. Everything else is refinement. For example, you may decide to add one angled-light image for glossy raw cards because it helps reveal scratches or print lines. That is analysis, not a formal requirement, but it can make condition communication sharper when used honestly.
Be careful not to overcorrect with image editing or stylized staging. If brightness, color, or contrast changes the way the card appears in hand, the photos become less trustworthy. The goal is not to make the card look worse than it is, either. It is to make the listing believable. When buyers can match the written condition notes to the visible flaws in the images, your listing feels coherent.
Consistency also helps when you are selling a lot of cards. If every front photo is square, straight, and similarly lit, buyers can compare your listings quickly. That is especially useful when you have multiple cards from the same set or player and want the differences in condition to be obvious rather than hidden inside inconsistent photography.
- Prioritize repeatability over complexity
- Use closeups when a defect matters to the buying decision
- Keep editing minimal enough that the card still looks like the card
Treat scan-to-list and auto-filled drafts as assistants, not authorities
Tools that create drafts from scans can save time, especially for modern cards with strong recognition data. But speed is useful only if you keep control of the details. eBay’s scan-to-list guidance is explicit that sellers remain responsible for reviewing listing information before publishing, and it notes that foil cards may require the seller to select or disclose the foil version correctly in item specifics.
That matters because trading cards often have small distinctions that change the listing materially. A base card and a foil card may share most visual elements. A parallel can resemble the standard issue closely enough that a rushed draft goes live with the wrong version. If you publish without checking, the error becomes yours, not the tool’s.
A good habit is to review every auto-filled draft against the actual card in three passes. First, confirm identity fields: year, set, player, card number, variation or parallel. Second, confirm item format: single card, slab, or lot. Third, confirm condition communication: are the photos of the exact card, and does the description disclose visible flaws? This review takes time, but much less time than fixing a sold listing or handling a dispute over a misidentified parallel.
Automation is best used after you already have a sorting system. If your cards are batched cleanly, the tool speeds up entry. If your prep is disorganized, automation can multiply the same confusion faster.
- Never publish a scan-generated draft without checking identity details
- Foil and parallel versions deserve special attention
- Review drafts in three passes: identity, item format, condition communication
Use a five-step pre-sale routine to cut mistakes before they become buyer problems
If you want one practical system to follow, keep it to five steps: sort, inspect, describe, photograph, verify. Each step supports the next one. Sorting creates listing-ready groups. Inspecting gives you the condition language. Describing turns those observations into buyer-facing facts. Photographing backs up those facts visually. Verifying catches mistakes before the listing goes live.
The value of this routine is not that it is complicated. It is that it is repeatable. You can apply it to a five-card submission, a shoebox of raw singles, or a partial set you are breaking into smaller groups. And because each step has a specific purpose, you are less likely to skip something important when you get tired or rushed.
Here is a practical example. Imagine you are preparing a 1990s insert run, a stack of base veterans, and a few graded rookies. Sort them into distinct groups first. Inspect the raw inserts for surface and edge issues that glossy stock often shows. Write descriptions that identify the exact insert and then note flaws plainly. Photograph front and back, plus closeups where needed. Finally, verify that any auto-filled specifics or titles match the exact card. That routine will not guarantee a sale, but it will make your listings clearer and more defensible.
The biggest lesson is that trust is built before the buyer clicks purchase. Clean sorting, honest descriptions, and accurate photos do not eliminate every disagreement, but they give buyers less reason to feel misled. In a category where tiny details can change value and expectations quickly, that is one of the most useful edges a seller can create.
- Five-step routine: sort, inspect, describe, photograph, verify
- If rushed, do not skip verification; that is where many preventable listing errors are caught
- Think of each listing as a short factual report, not a sales pitch
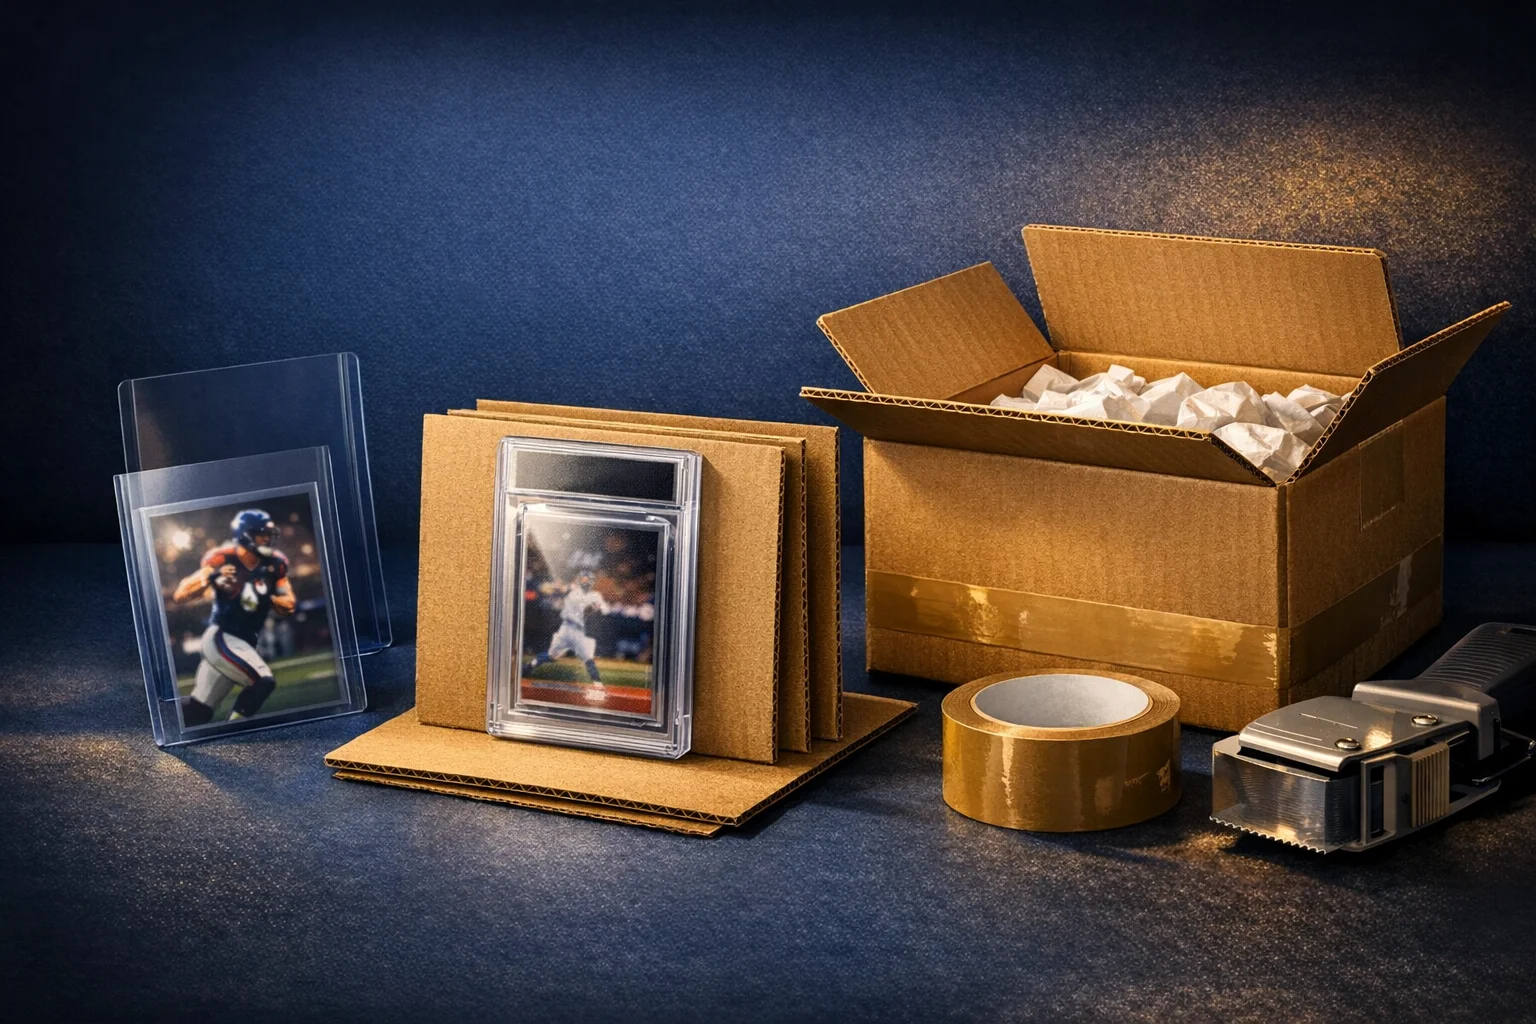
Illustration generated for this guide; not a photograph of an actual card, product or event.
Photo Gallery